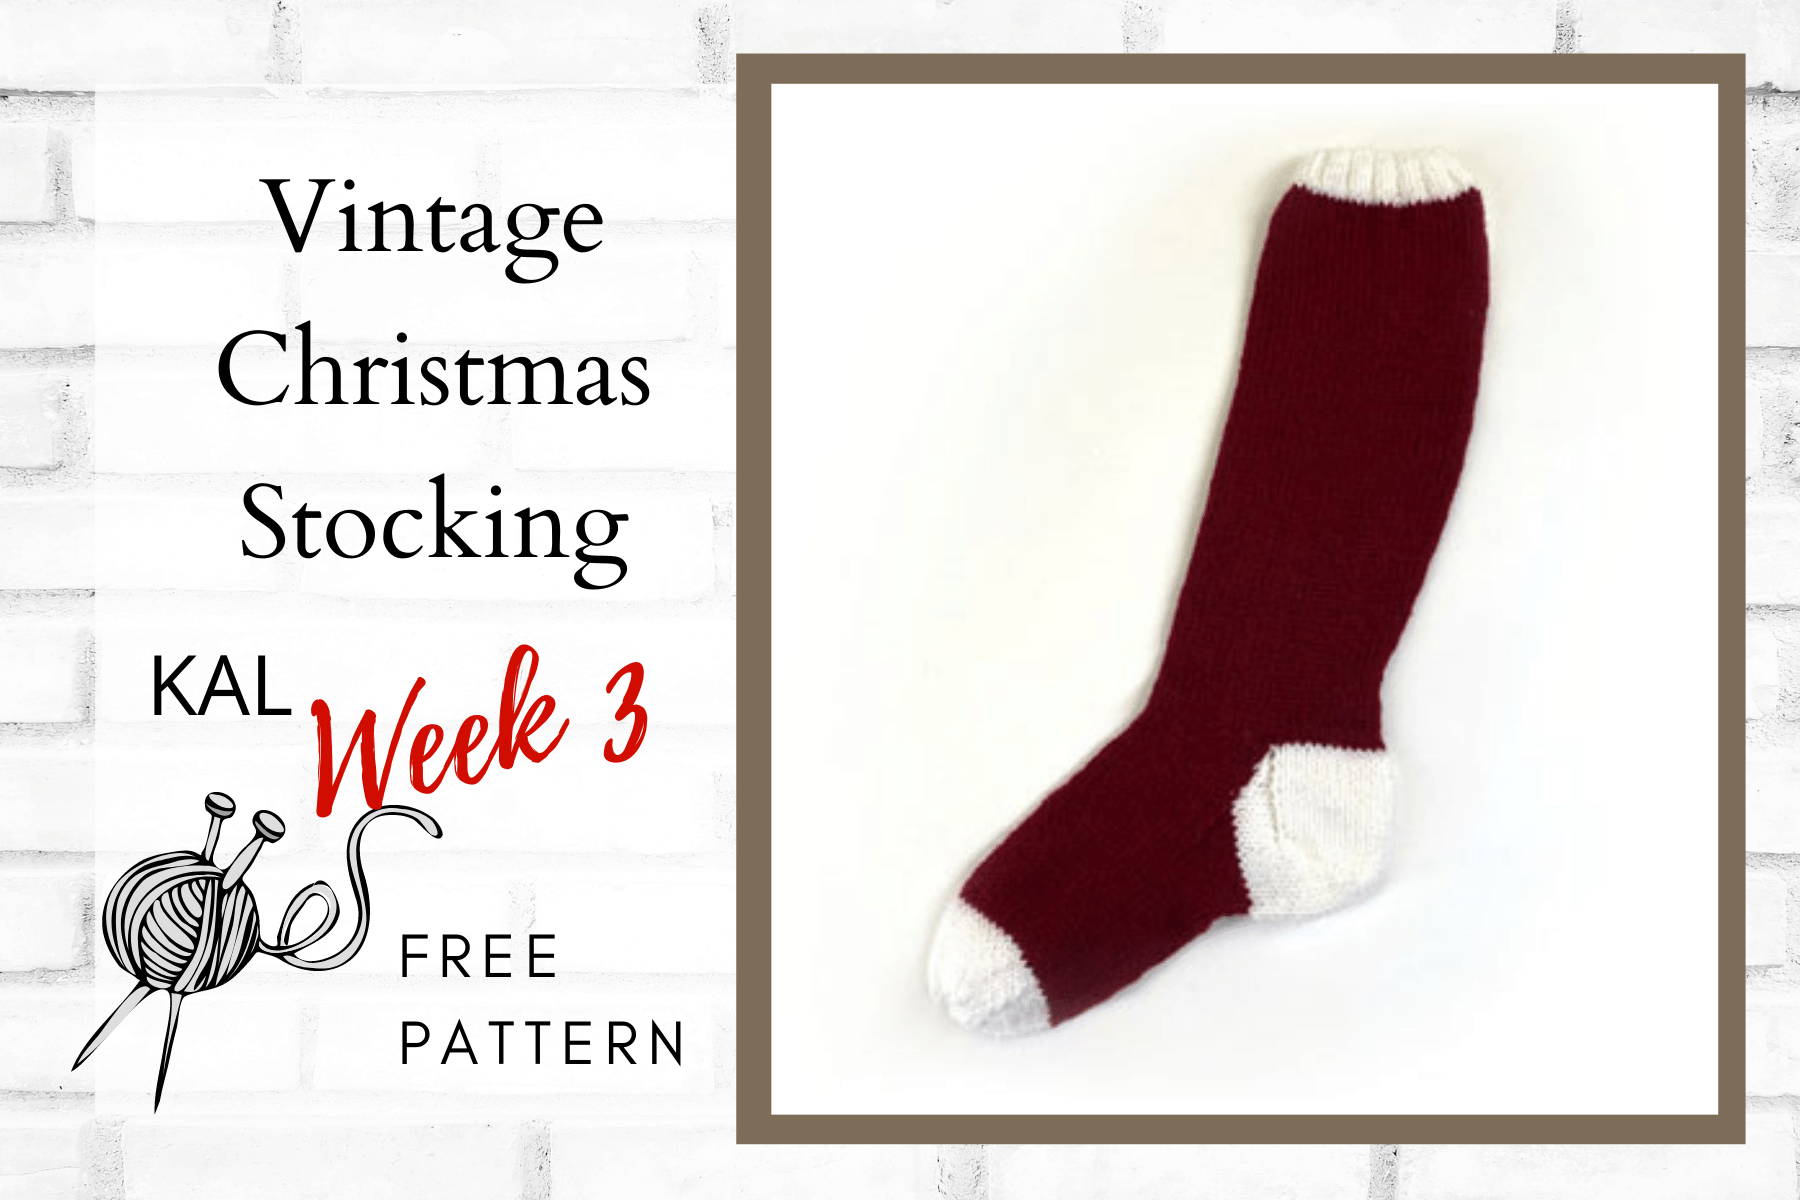
It's Week 2 of our Vintage Christmas Stocking KAL! This week we are casting on, knitting the ribbing and working the cuff of our stocking. We included the complete pattern for the stocking shown here so you can work at your own pace. You can also use this as an updated modern guide for the classic vintage stocking.
This month we are showing you step by step how to knit these iconic Mary Maxim Christmas Stockings. To knit the stocking shown here you'll need the pattern included in this week's tutorial, a ball of Starlette in White and in Red Wine and a pair of Size 8 (5.00 mm) needles. You can purchase a Mary Maxim Stocking kit that includes a pattern, graph, and all the yarn you need to complete two stockings, or you can purchase a downloadable pattern from Mary Maxim to knit from.
Free Knit Stocking Pattern
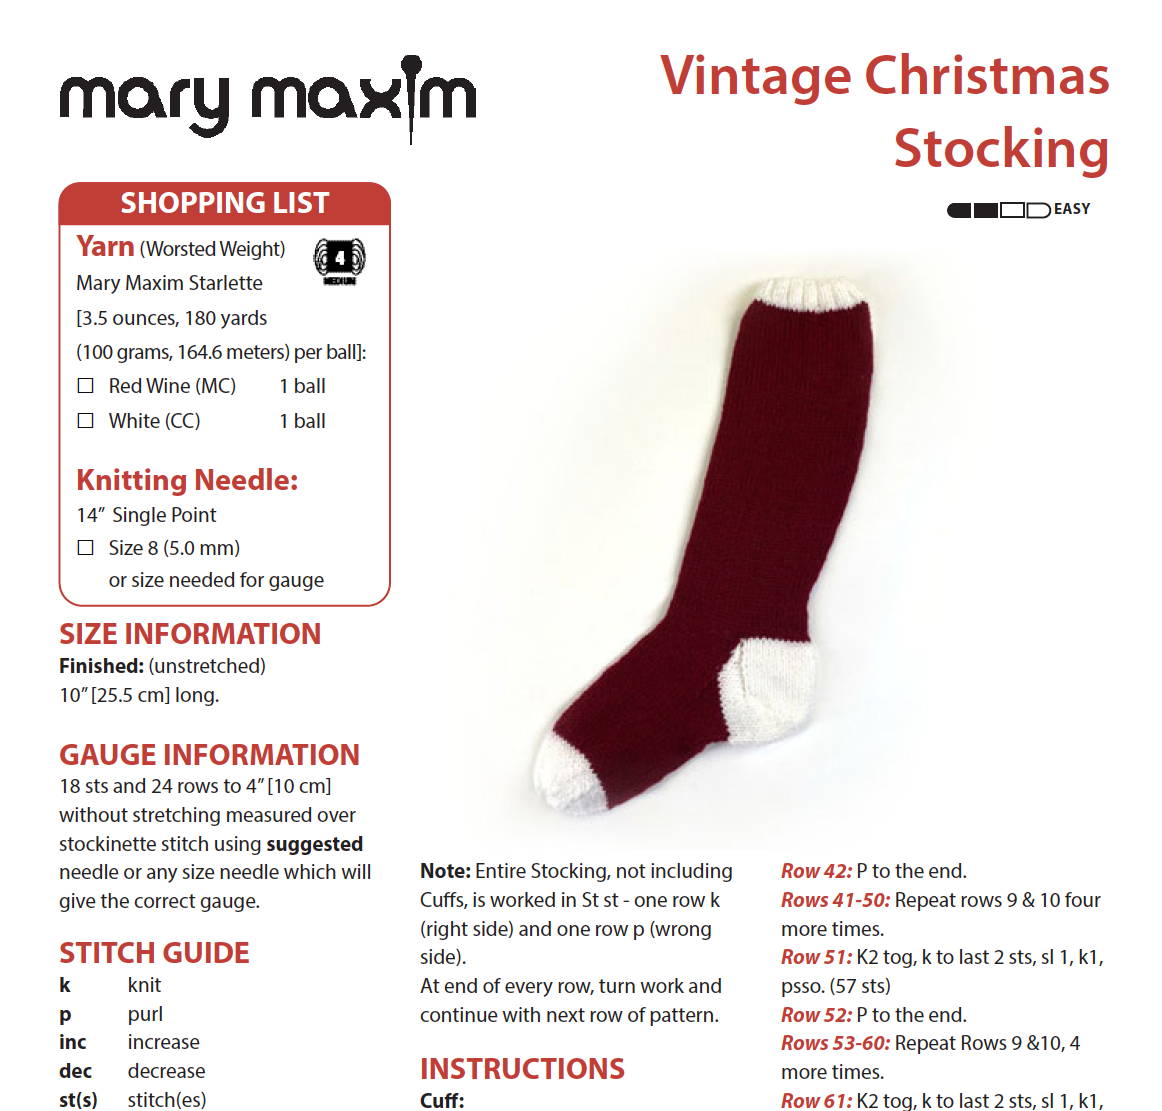
SIZE INFORMATION
Finished: (unstretched)
10” [25.5 cm] long.
GAUGE INFORMATION
18 sts and 24 rows to 4” [10 cm] without stretching measured over stockinette stitch using suggested needle or any size needle which will give the correct gauge.
STITCH GUIDE
k knit
p. purl
inc. increase
dec. decrease
st(s). stitch(es)
cm. centimeters
mm. millimeter
rem. remain or remaining
beg. beginning
rep. repeat
rnd. round
tog. together
St st. Stockinette Stitch
psso pass slipped stitch over k1
k1fb Increase one st by knitting into front and back of next stitch
Note: Entire Stocking, not including Cuffs, is worked in St st - one row k (right side) and one row p (wrong side).
At end of every row, turn work and continue with next row of pattern.
INSTRUCTIONS
Cuff:
Using CC1, cast on 60 sts.
Row 1-7 *K2, p2; rep from * to the end. (60 sts)
Row 8: K1fb, k, p2, *k2, p2; rep from * to the last stitch. (61 sts)
Row 9: K to the end.
Row 10: P to the end.
Rows 11-40: Repeat Rows 9 & 10 twenty times.
Row 41: K2 tog, k to last 2 sts, sl 1, k1, psso. (59 sts)
Row 42: P to the end.
Rows 41-50: Repeat rows 9 & 10 four more times.
Row 51: K2 tog, k to last 2 sts, sl 1, k1, psso. (57 sts)
Row 52: P to the end.
Rows 53-60: Repeat Rows 9 &10, 4 more times.
Row 61: K2 tog, k to last 2 sts, sl 1, k1, psso. (55 sts)
Row 62: P to the end.
Rows 63-70: Repeat Rows 9 and 10 four more times.
Row 71: K2 tog, k to last 2 sts, sl 1, k1, psso. (53 sts)
Row 72: P to the end.
Rows 73-86: Repeat Rows 9 and 10 seven more times.
Cut yarn, leaving a tail long enough to sew back seam.
Video Tutorials
As a refresher here are the articles and videos you'll need to reference to complete this week's portion of the pattern. Check out the step by step guide below!
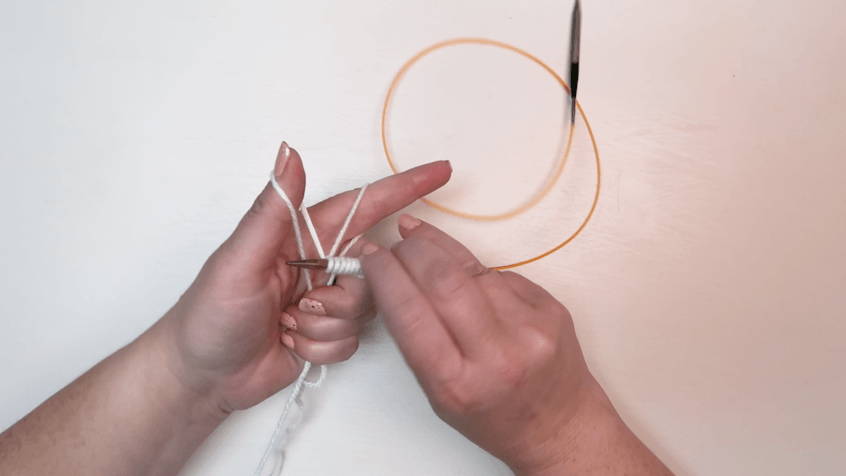
How to Long Tail Cast On
Most of our knit projects on the blog begin with the Long Tail Cast On also known as the Double Cast On. It's one of the most versatile, popular, and most recognizable cast ons. It provides a firm edge with just enough elasticity for a variety of projects and is excellent for beginners.
How to Knit
Learning how to knit is a wonderfully rewarding experience. Before you get started, we want to warn you that it is absolutely addicting. To get started learning how to knit, you will want to grab some needles and yarn. For this tutorial, we are using Mary Maxim Best Value worsted weight yarn (the most commonly used size yarn) and size 8 (5 mm) knitting needles.
How to Purl
When we discussed How to Knit in the previous post, we mentioned that Knit and Purl are essentially two sides of the same coin. If you knit on one side of your fabric, it will always show up as a purl on the other side. In this tutorial we will learn how to purl.
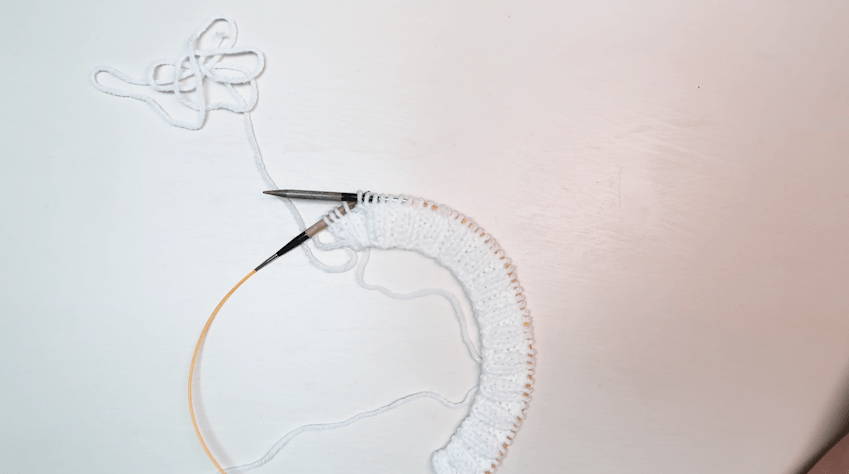
Changing Knit and Purl
This video shows the Knit 2, Purl 2 Ribbing pattern and demonstrates how to move from the knit stitch to the purl stitch.
How to Knit the Stockinette Stitch
The Stockinette Stitch or Stocking Stitch is one of the most recognizable and most versatile stitches in the knitter's repertoire. When most people think of knitting, they think of the Stockinette stitch. If you are a seasoned knitter, then you have likely used this stitch many times. If you are new to knitting, it’s a great stitch to learn after the Garter Stitch.
How to Knit Front and Back KFB
KFB is one of many increases.
Knit to stitch where you need to increase.
Start to knit as you usually would but do not pull off left needle, place right needle down through the back of the stitch and bring yarn around needle, complete the stitch and pull off needle.
You should now have 2 stitches where you started with 1!
Step by Step Christmas Stocking Tutorial
Step 1:
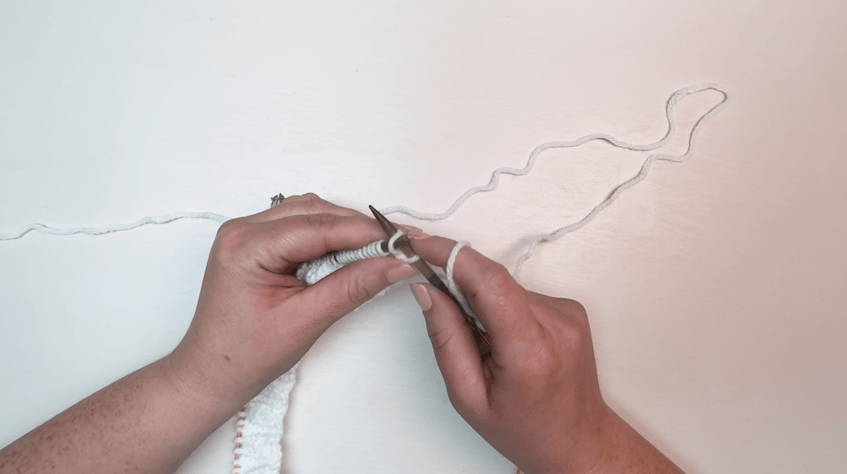
Using your contrasting color (CC1) Cast on 60 stitches. The contrasting color in this tutorial is White
Step 2
Rows 1-7: Begin knitting the ribbing of your cuff. Knit 2 stitches, then purl 2 stitches and repeat to the end, then turn. Knit each of the first 7 rows in this matter.
Step 3
Row 8: Continue working in K2, P2 rib all the way until the last stitch. Work a knit front and back (kfb) increasing by one stitch in the very last stitch of this row. When finished with this row you will have 61 stitches on your needle.
Step 4
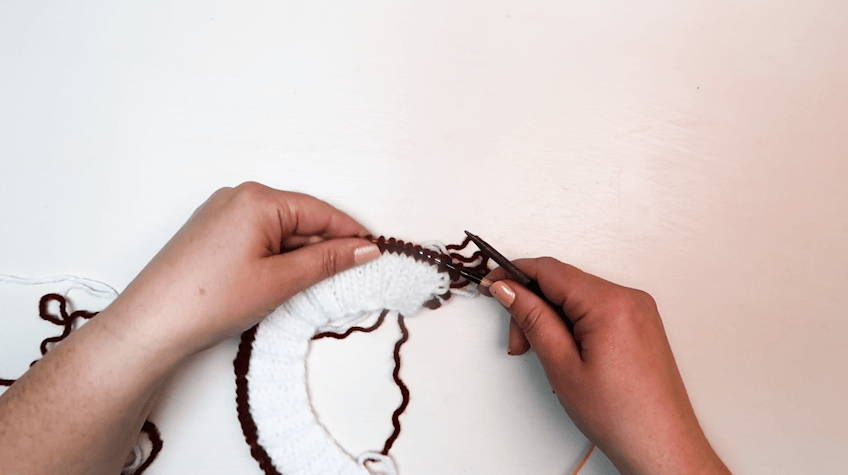
Rows 9-40: The leg of the stocking is worked in stockinette stitch. One row will consist entirely of knit stitches and the next will be entirely of purl stitches. See our video on the stockinette stitch.
Step 5:
Row 41: Knit the first two stitches together (k2tog) to begin the row. Continue working knit stitches until you get to the last two stitches on your needle. Slip the first stitch onto your right needle, knit the next stitch off the left needle and pass the slipped stitch over the last knit stitch and off your needle (psso). You have now decreased by two stitches and have 59 stitches on your needle.
Continue working the leg decreasing stitches the same way as in Row 41. When finished with the cuff you will have 86 rows of stitches, and we will begin next week with shaping the heel.
Week 2 Christmas Stocking Video Tutorial
Stay Tuned!
Make sure to check back next week for the first part of our Knit A Long. In the Third week of our Knit-A-Long, we will knit the heel and shape the gusset of our stocking. Make sure to check out our other Make A Longs! Check out the rest of the weeks of this Knit Along: Christmas Stockings Week 1, Christmas Stockings Week 3, Christmas Stockings Week 4.