Learning how to Purl is often the second stitch a new knitter learns. When we discussed How to Knit, we mentioned that Knit and Purl are essentially two sides of the same coin. If you knit on one side of your fabric, it will always show up as a purl on the other side. When we purl we are essentially channeling our best Ginger Rogers moves and doing the same thing just backwards.
How to Purl Video Tutorial
Identifying a Knit Stitch and a Purl Stitch
When we discussed How to Knit in the previous post, we mentioned that Knit and Purl are essentially two sides of the same coin. If you knit on one side of your fabric, it will always show up as a purl on the other side. This is really important when identifying your place in a pattern. Take the Seer Sucker Stitch, for instance. The stitch definition isn’t always obvious at a glance. Unless you are really pulling at the fabric to examine the stitches, you may not be able to see the stitch pattern just by looking at it. This is what makes it such a wonderful texture for garments like in the Texture and Lace Sweater.
Take a look at the image above. At the top of the image, you see only Knit stitches. On the bottom, you see only Purl stitches. Can you find the Purl stitches in the photos below?
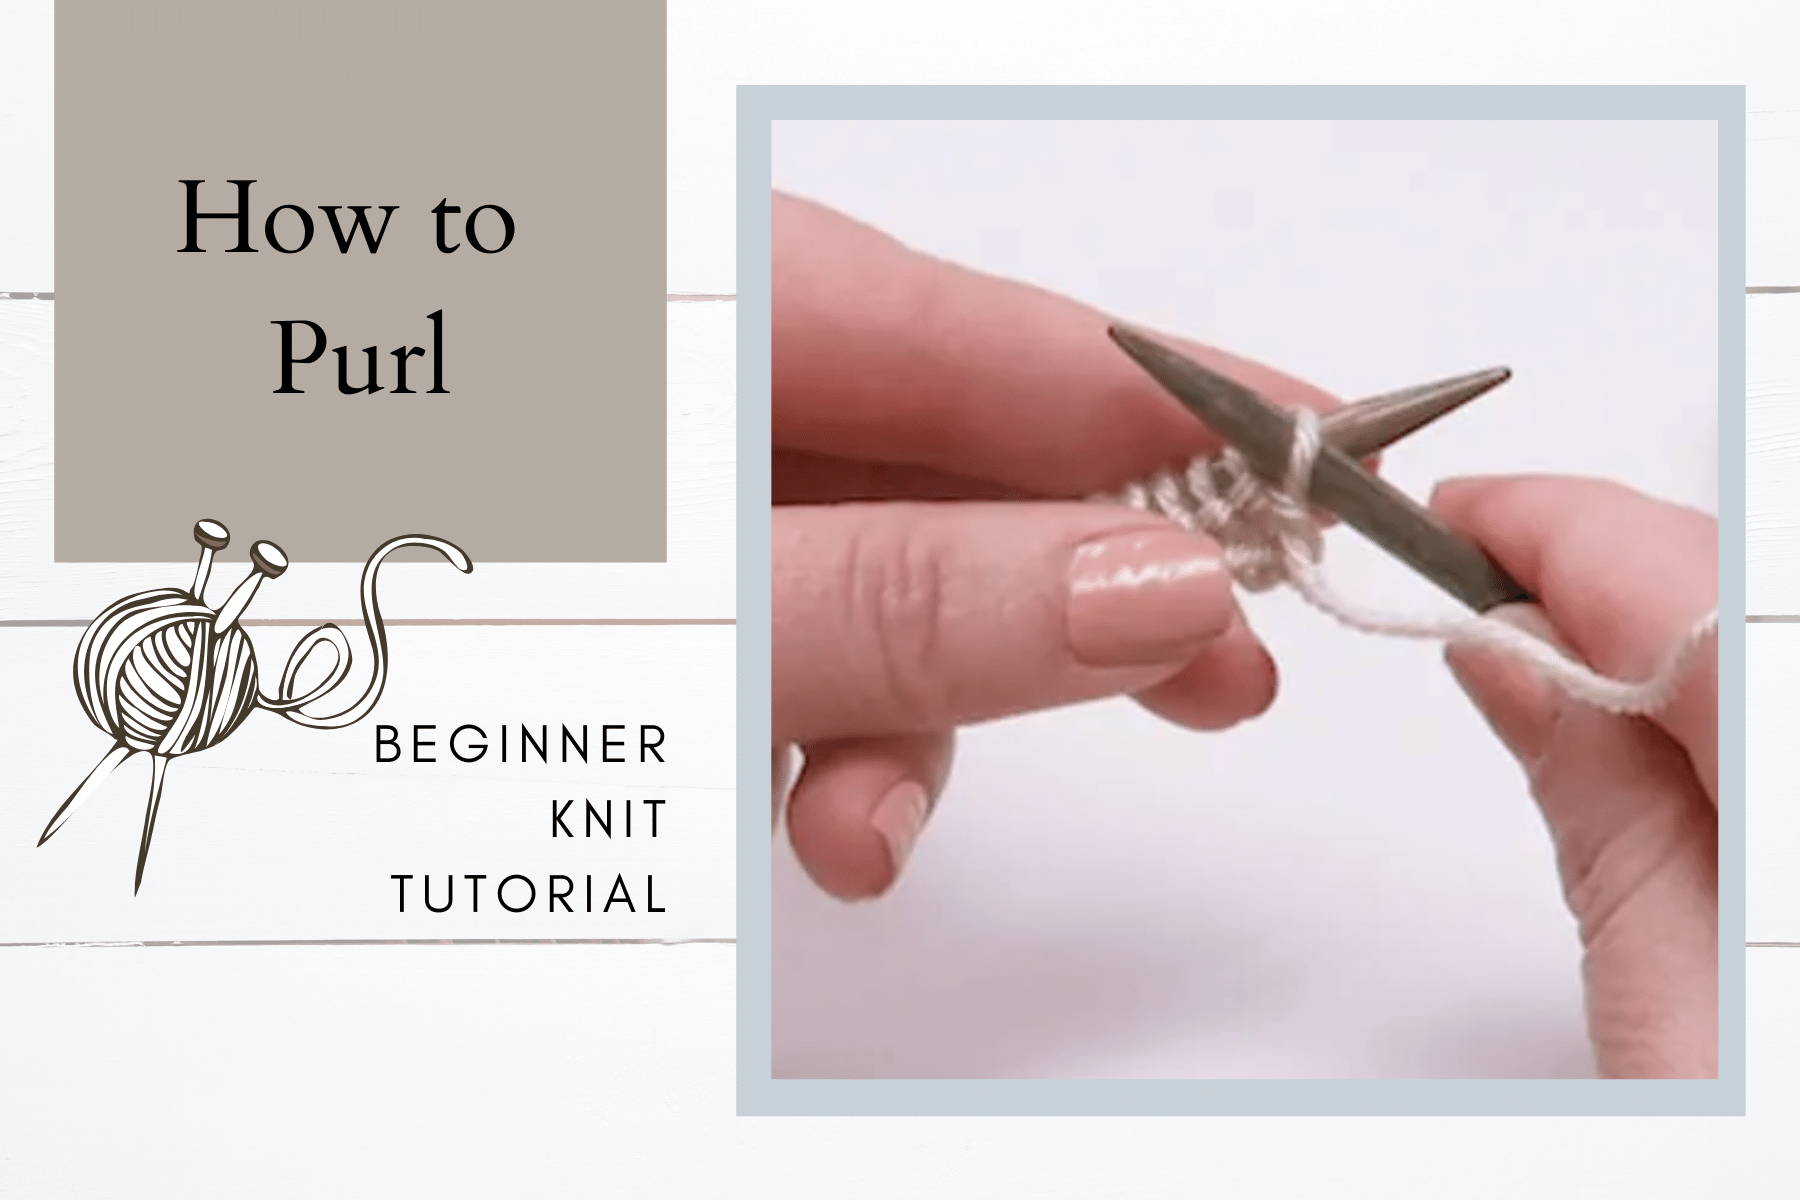
How to Purl Stitch
Just like with the Knit stitch, there are some fun rhymes to help remember the purl stitch.
Always remember before you purl to bring your yarn to the front. If you are working a knit and purl combination, then make sure to bring your yarn to the front under the needle, not over. If you wrap the yarn over the needle as you would in a yarn over, then you are adding stitches to the next row.
In through the rabbit hole
With the yarn in front, move the working needle from behind the yarn and insert in the loop on the needle that is holding the stitches from the cast on or the previous row.
Round the back of the big tree
Wrap the yarn counter-clockwise around the working needle.
Up through the rabbit hole
Slide your working needle from the front of the needle that holds your cast on stitches underneath to the backside, making sure to bring the yarn that you wrapped around the needle in step 2 with the working needle.
And off goes she!
Slide the loop off of the needle that holds the cast on stitches, or stitches from the previous row.
Tips before you Learn How to Purl Stitch
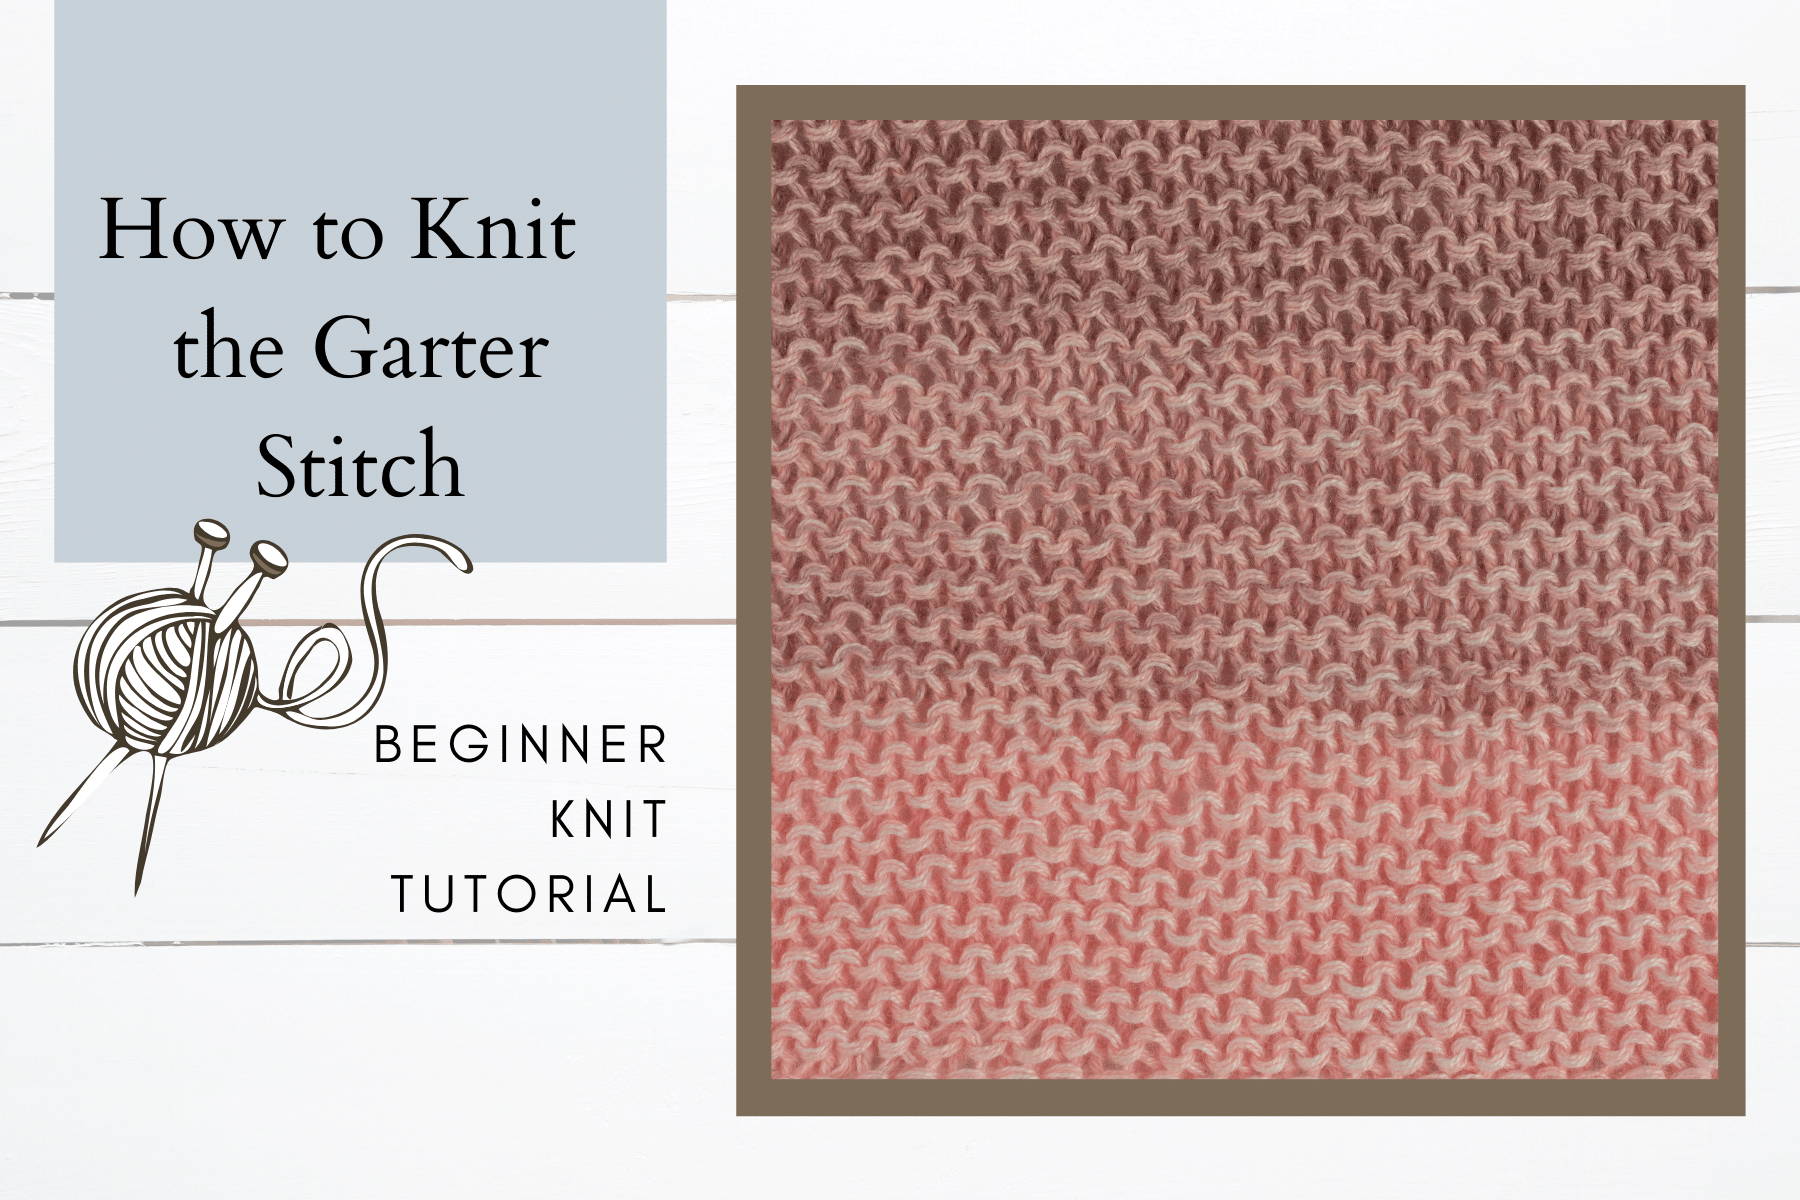
You should definitely try the Long Tail Cast On and be pretty good at the Knit Stitch before you try a project with a lot of Purl stitches. Our next tutorial will feature the technique called the Garter Stitch and is wonderful Knit stitch practice. This is where each row is knit. Take a look at the Triangle Scarf in the video below which will be featured in our next tutorial. This is a wonderful first time project using Mary Maxim Marvelous Chunky Yarn, and Size 10.5 (6.50 mm) needles. There is no shaping, but it has a nice stretch to it.
Stay Tuned
Stay Tuned! We are so close to the start of our next stitch series. If you’ve always wanted to learn how to knit, then now is a great time. We will be starting our crochet stitch series soon as well, starting with the basics like we are with the knit stitches series. There is so much more to come, so make sure to subscribe and never miss a thing!
Be sure to follow us on Social Media!
Happy Crafting!