How to Crochet a Dinosaur (+22 Free Patterns)

Embarking on the journey of crocheting a dinosaur opens a realm of creativity and meticulous craftsmanship. The intriguing challenge of replicating prehistoric creatures through yarn manipulation requires attention to detail and skillful hands. As we explore the intricacies of creating these fascinating creatures, a world of 22 free patterns awaits to inspire and guide enthusiasts through this enchanting process. Stay tuned to uncover the secrets behind selecting the perfect yarn, mastering essential techniques, and bringing these ancient beasts to life stitch by stitch.
Supplies Needed
The first step in crafting a dinosaur using the provided patterns is to gather the essential supplies necessary for the project. These typically include yarn, crochet hooks, stuffing material, scissors, a yarn needle, and safety eyes or embroidery thread for the eyes. Consider the desired color scheme and texture when selecting yarn for your dinosaur project.
What is The Best Yarn for Crocheting a Dinosaur?
When considering the best yarn for crocheting a dinosaur, prioritizing durability and texture is essential in achieving a successful project outcome. To ensure your dinosaur creation stands the test of time and looks visually appealing, here are three key factors to consider:
1. Acrylic Yarn: Opting for acrylic yarn is popular among crocheters for amigurumi projects like dinosaurs due to its durability and ease of care. Acrylic yarn is available in various colors, making it ideal for creating vibrant, eye-catching dinosaur designs.
2. Cotton Yarn: Cotton yarn is another excellent option for crocheting dinosaurs, especially if you prefer a more natural fiber. Cotton yarn provides a soft texture and is suitable for creating intricate details on your amigurumi dinosaur, giving it a unique and tactile finish.
3. Wool Blend Yarn: A wool blend yarn can offer the best of both worlds by combining the durability of wool with the softness of other fibers. This type of yarn adds warmth and dimension to your crocheted Dinosaur, making it a versatile choice for various projects.
Tips for Crocheting a Dinosaur
Crafting a realistic and detailed crocheted dinosaur requires attention to pattern selection and meticulous stitch placement. When choosing a dinosaur pattern, choose one with clear instructions and images to guide you. Look for patterns that break down the Dinosaur into manageable parts, such as the body, head, limbs, and tail, to make the crocheting process more approachable.
To ensure your Dinosaur looks authentic:
1. Pay close attention to the color selection of your yarn.
2. Research the specific dinosaur species you are crocheting to accurately replicate its color patterns.
3. Utilize different shades and textures of yarn to add depth and dimension to your creation.
How to Crochet a Dinosaur: Step-by-step Instructions
The process of crocheting a dinosaur involves several key steps:
1. Select a pattern that suits your skill level and desired dinosaur design.
2. Gather all the necessary materials like yarn, crochet hooks, and stuffing.
3. Follow the pattern instructions to crochet the body, create additional pieces like limbs or tails, and assemble the Dinosaur for a finished product.
Step 1: Choose a Pattern
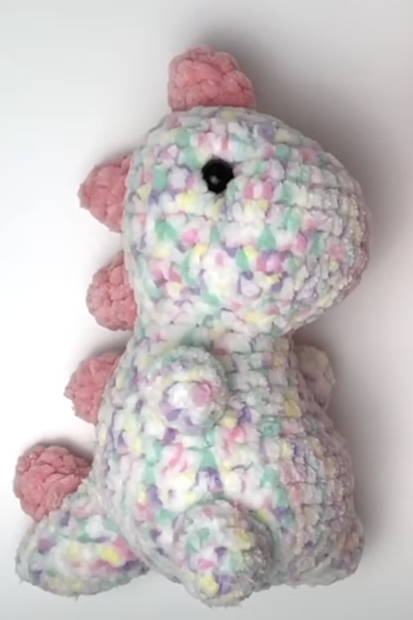
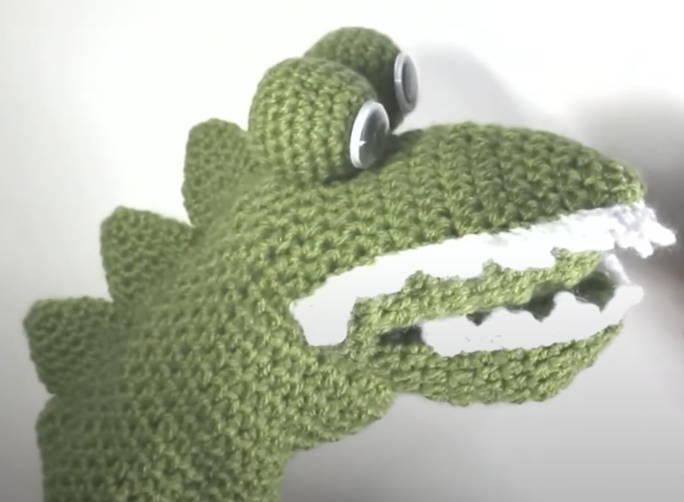
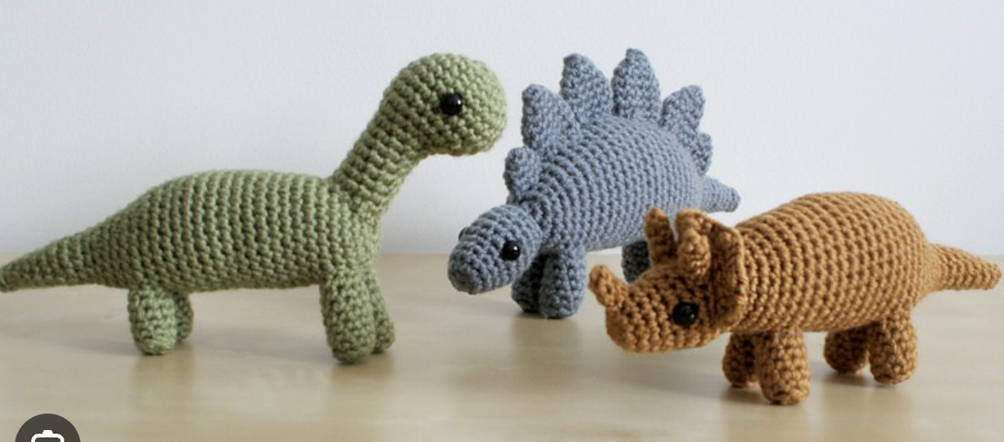
First, select your preferred design to begin crocheting a dinosaur using one of the free patterns provided by Mary Maxim.
Choosing the correct pattern is the first step towards creating your crocheted dinosaur masterpiece.
Step 2: Gather Material
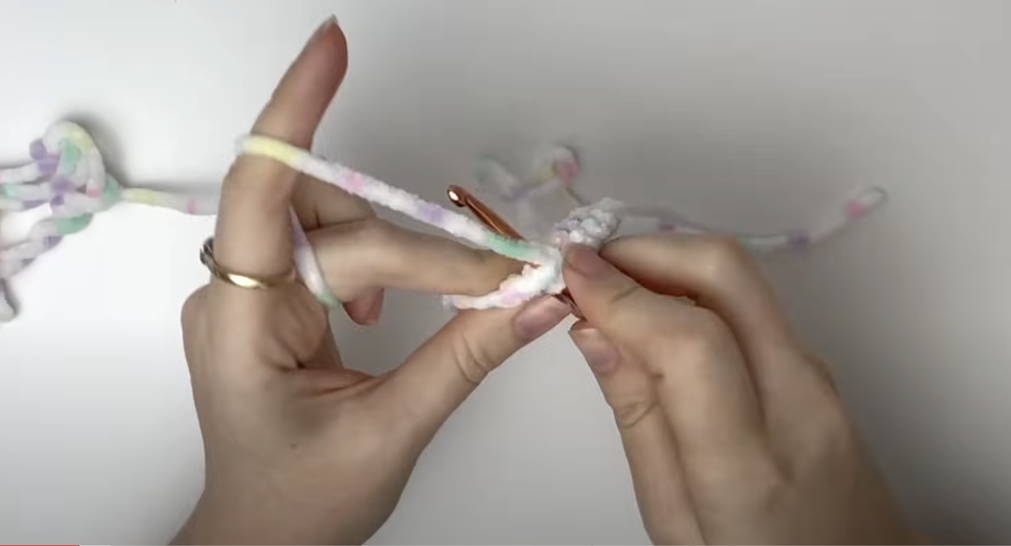
After selecting the ideal dinosaur pattern, the next step involves gathering the necessary materials to begin crocheting your dinosaur masterpiece. Depending on the pattern chosen, you will typically need yarn in various colors to bring your Dinosaur to life. Ensure you have the appropriate crochet hook size recommended in the pattern instructions.

Source: Rose and Lily Crochet on YouTube

Source: Teenie crochets on YouTube


